Documentation
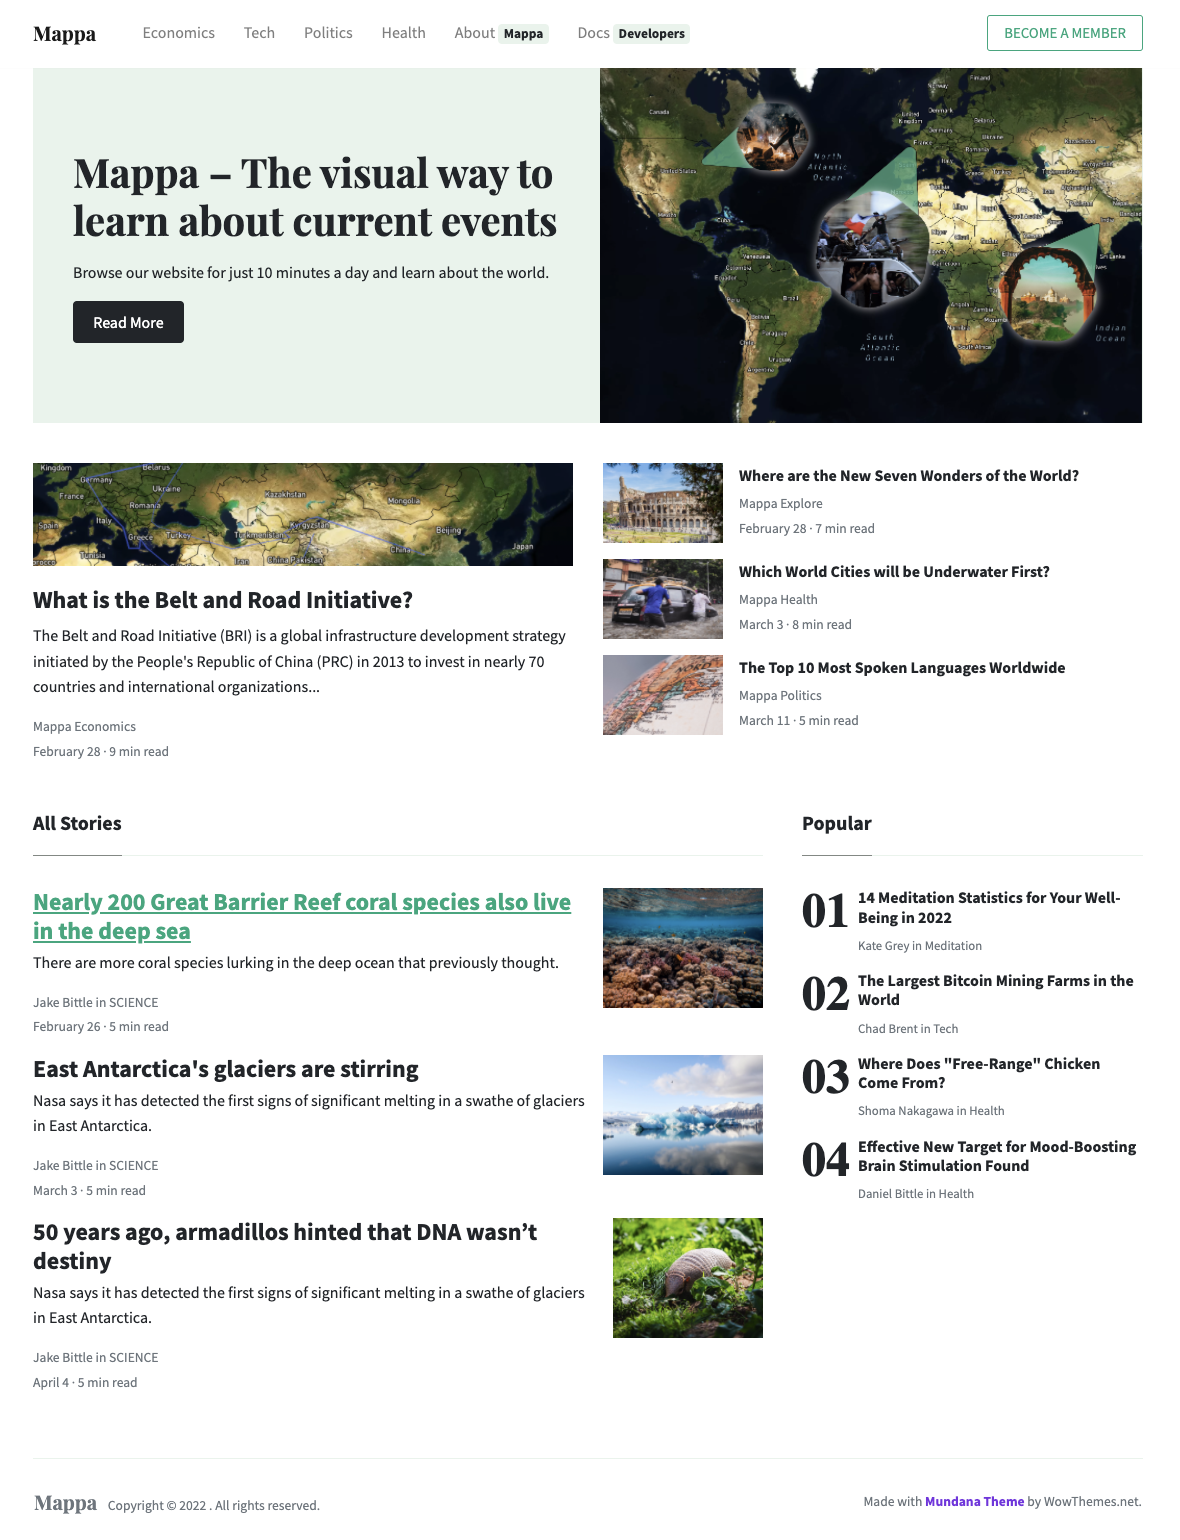
Hey there! You’re looking at Mappa Docs official documentation. Interested in becoming a digital cartographer? If so, let’s get started!
Quick Start
Installing all of the required stuff. If you've already installed all of the dependencies, feel free to skip this step!
-
Download an IDE (Recommended: Visual
Studio Code)
-
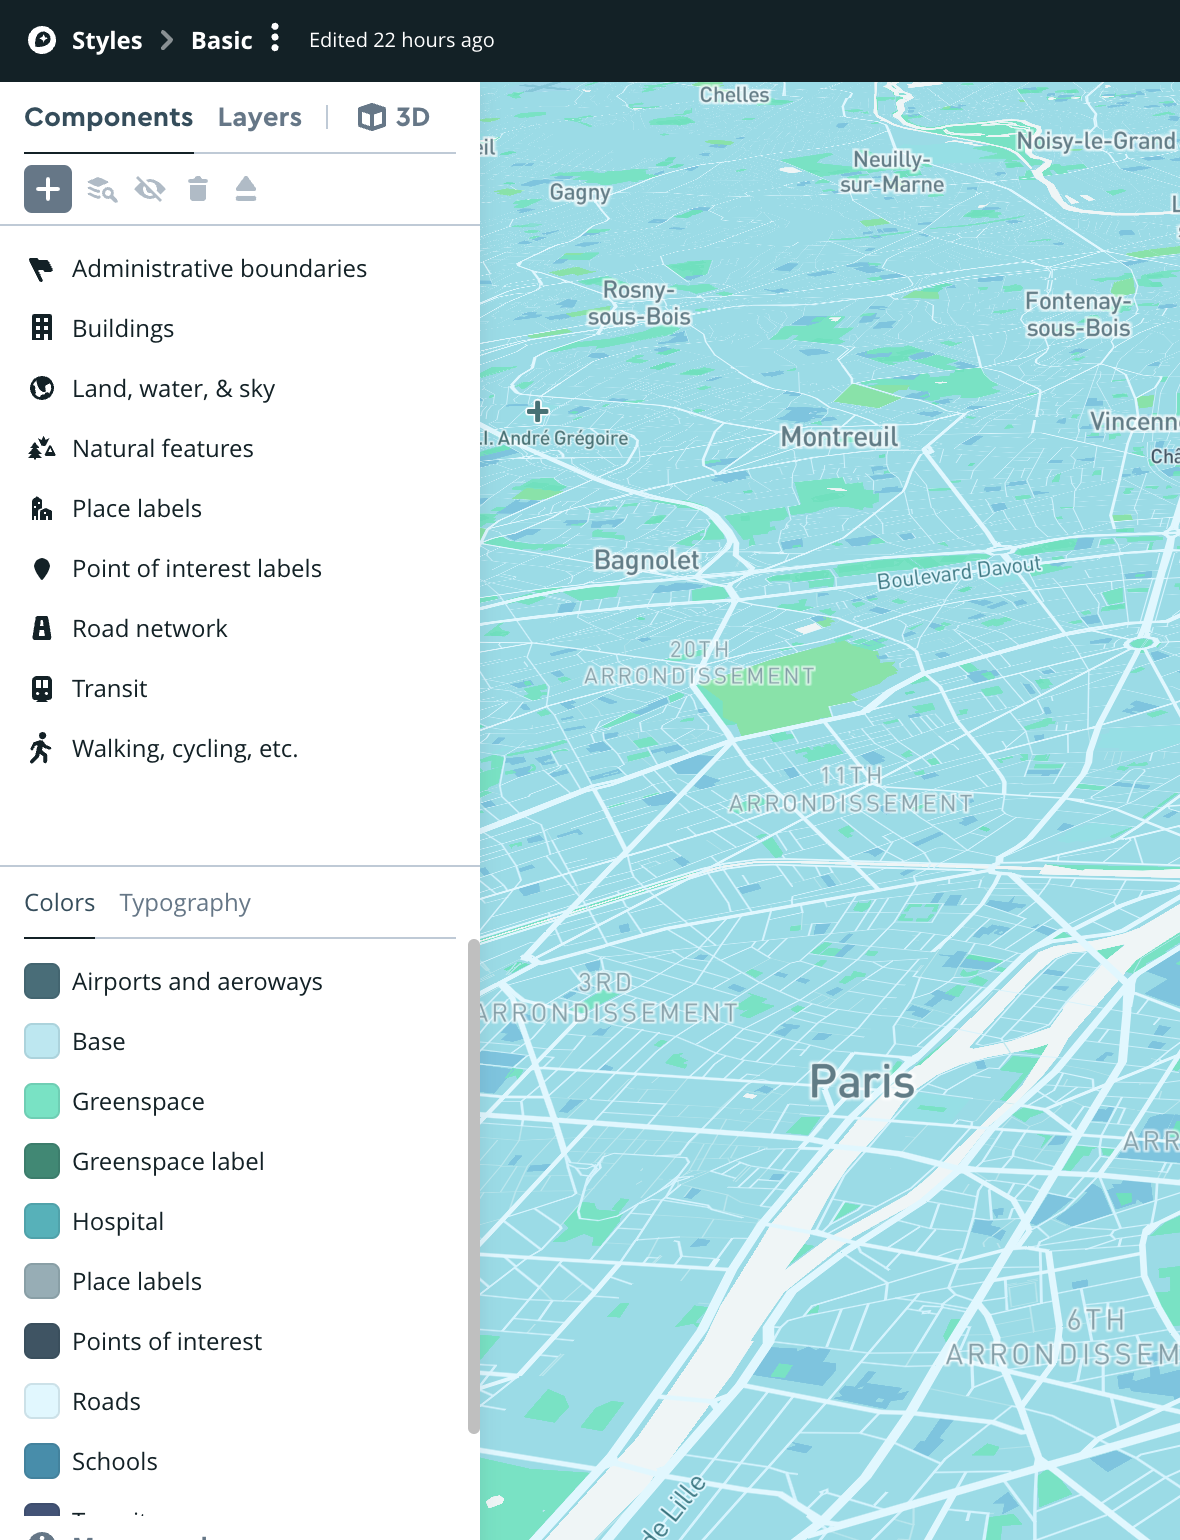
Create a Mapbox Studio
Account here
-
Make a Github Account here
Download an IDE (Recommended: Visual Studio Code)
Create a Mapbox Studio Account here
Make a Github Account here
Next Steps
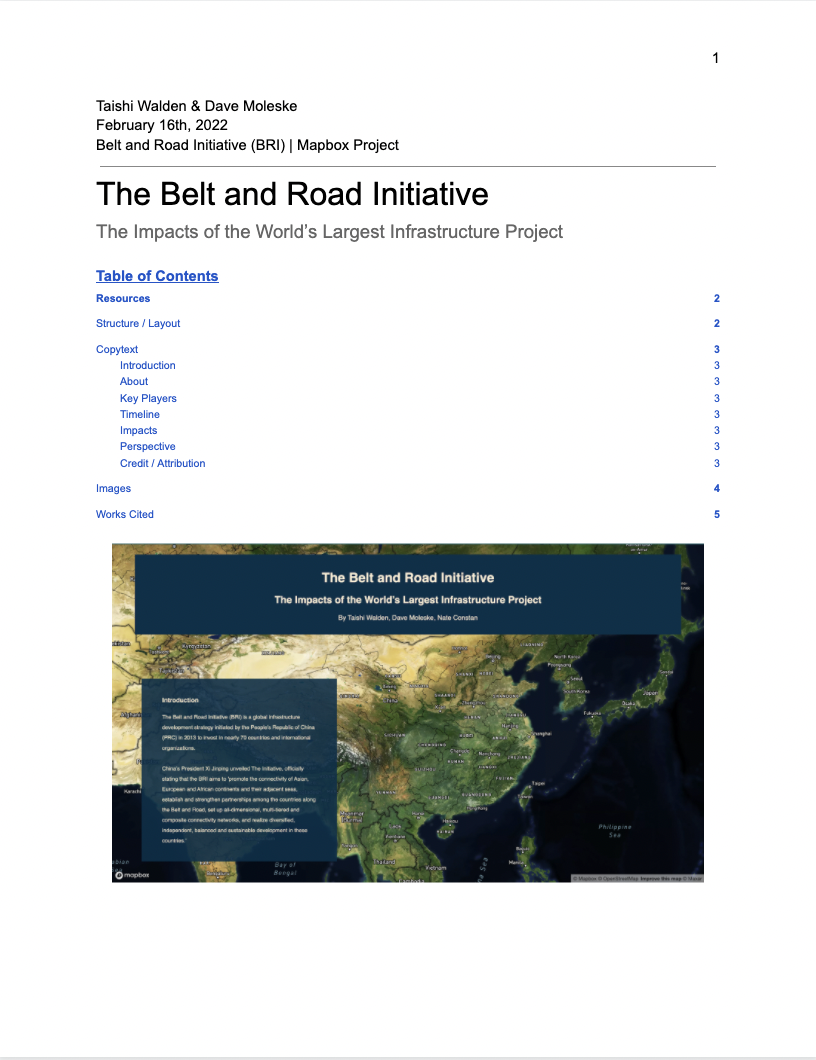
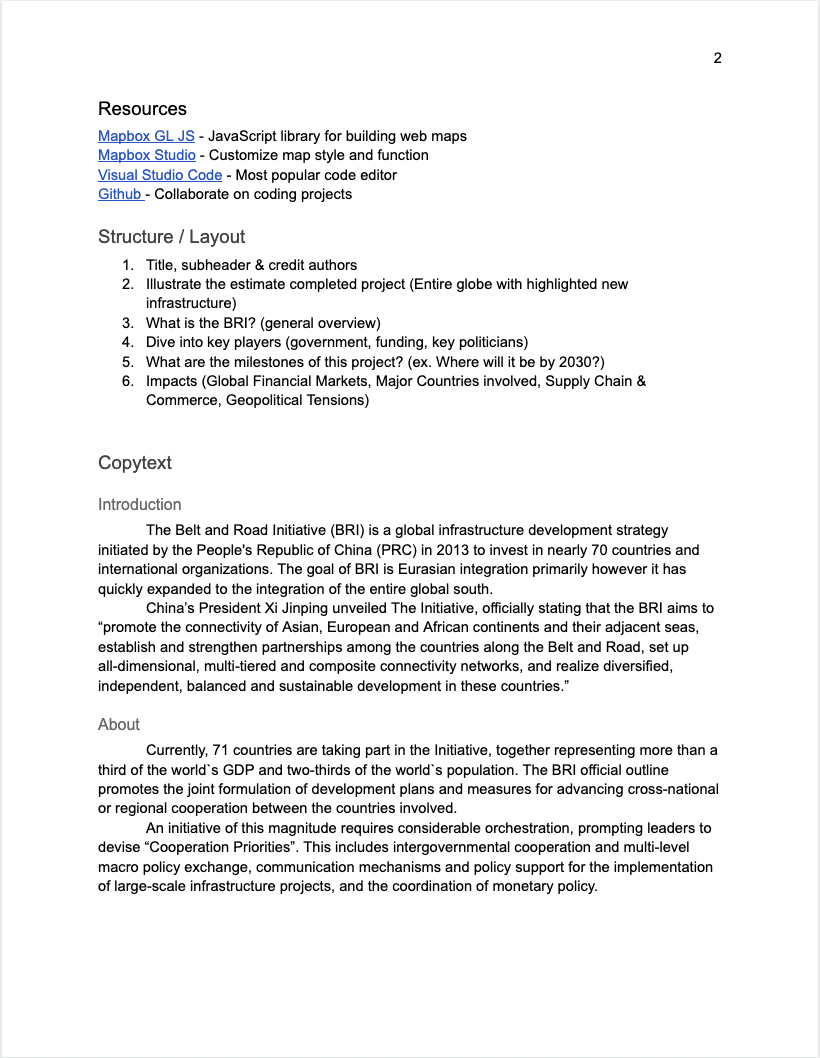
All good maps start with a good story. Before you start any coding, we'd recommend beginning with writing a basic plot/story for the map you want to create. For this you can use any text editor of your choice, or, your can use our Google Docs template to get started.
Create an HTML file
Open Visual Studio Code and create a new file. Watch this example or copy the code below.
<!DOCTYPE html>
<html lang="en">
<head>
<meta charset="utf-8"/>
<link rel="apple-touch-icon" sizes="76x76" href="./assets/img/favicon.ico">
<link rel="icon" type="image/png" href="./assets/img/favicon.ico">
<meta http-equiv="X-UA-Compatible" content="IE=edge,chrome=1"/>
<title>Site Title</title>
<meta content='width=device-width, initial-scale=1.0, maximum-scale=1.0, user-scalable=0, shrink-to-fit=no' name='viewport'/>

<!-- Fonts -->
<link href="https://fonts.googleapis.com/css?family=Playfair+Display:400,700|Source+Sans+Pro:400,700" rel="stylesheet">
<link rel="stylesheet" href="https://use.fontawesome.com/releases/v5.3.1/css/all.css" integrity="sha384-mzrmE5qonljUremFsqc01SB46JvROS7bZs3IO2EmfFsd15uHvIt+Y8vEf7N7fWAU" crossorigin="anonymous">

<!-- CSS -->
<link href="./assets/css/main.css" rel="stylesheet"/>

</head>

<body>

<main> My content goes here </main>

<!-- Javascript -->
<script src="./assets/js/vendor/jquery.min.js" type="text/javascript"></script>
<script src="./assets/js/vendor/popper.min.js" type="text/javascript"></script>
<script src="./assets/js/vendor/bootstrap.min.js" type="text/javascript"></script>
<script src="./assets/js/functions.js" type="text/javascript"></script>

</body>

</html>
If you are not planning to customize your style with SCSS, simply remove the
assets/scss/ folder and get started by opening the index.html file.
So, this
will be the structure of your template:
File Structure
- assets/
- css/
- vendor/
- prism.css
- main.css
- main.css.map
- img/
- js/
- vendor/
- jquery.min.js
- bootstrap.min.js
- popper.min.js
- functions.js
- index.html
- article.html
- category.html
- templates.html
- docs.html
Basic Template
<!DOCTYPE html>
<html lang="en">
<head>
<meta charset="utf-8"/>
<link rel="apple-touch-icon" sizes="76x76" href="./assets/img/favicon.ico">
<link rel="icon" type="image/png" href="./assets/img/favicon.ico">
<meta http-equiv="X-UA-Compatible" content="IE=edge,chrome=1"/>
<title>Site Title</title>
<meta content='width=device-width, initial-scale=1.0, maximum-scale=1.0, user-scalable=0, shrink-to-fit=no' name='viewport'/>

<!-- Fonts -->
<link href="https://fonts.googleapis.com/css?family=Playfair+Display:400,700|Source+Sans+Pro:400,700" rel="stylesheet">
<link rel="stylesheet" href="https://use.fontawesome.com/releases/v5.3.1/css/all.css" integrity="sha384-mzrmE5qonljUremFsqc01SB46JvROS7bZs3IO2EmfFsd15uHvIt+Y8vEf7N7fWAU" crossorigin="anonymous">

<!-- CSS -->
<link href="./assets/css/main.css" rel="stylesheet"/>

</head>

<body>

<main> My content goes here </main>

<!-- Javascript -->
<script src="./assets/js/vendor/jquery.min.js" type="text/javascript"></script>
<script src="./assets/js/vendor/popper.min.js" type="text/javascript"></script>
<script src="./assets/js/vendor/bootstrap.min.js" type="text/javascript"></script>
<script src="./assets/js/functions.js" type="text/javascript"></script>

</body>

</html>
That's it! Start editing your theme with an HTML editor, such as Brackets.
Advanced Customization
If you are planning to customize the template with Gulp & SCSS, follow the guide below.
First, this is the structure of your template files:
File Structure
- assets/
- css/
- vendor/
- prism.css
- main.css
- main.css.map
- img/
- js/
- vendor/
- jquery.min.js
- bootstrap.min.js
- popper.min.js
- functions.js
- scss/
- 1-frameworks/
- bootstrap/
- source/
- bootstrap.scss
- bootstrap-grid.scss
- bootstrap-reboot.scss
- bootstrap-user-variables.scss
- _index.scss
- 2-plugins
- 3-base
- 4-modules
- 5-layout
- main.scss
- index.html
- article.html
- category.html
- templates.html
- docs.html
- gulpfile.js
- package.json
- README.md
Install Gulp
Gulp can automate tasks in your development workflow. Gulp is also required in order to work
with scss files. In order to use Gulp you will need to download Node JS first:
After Node is installed you can now proceed to Gulp installation. To do that simply run the following command in your terminal. This will install Gulp globally. Aferwards you can cd to you project’s folder where our KIT is installed.
npm install gulp-cli -g
Customize with SCSS
It is highly recommended that all the customized styles to be stored only within the user’s
files from the scss folder. Gulp is required for this.
- Download the project’s zip.
- Make sure you have node.js (https://nodejs.org/en/) installed.
- Type
npm installin terminal/console in the source folder wherepackage.jsonis located. - Make sure you have gulp
npm install gulp - Run in terminal
gulp open-appfor opening the Dashboard Page (default) of the product. - Run in terminal
gulp compile-scssfor a single compilation orgulp watchfor continous compilation of the changes that you make in*.scssfiles. This command should be run in the same folder wheregulpfile.jsandpackage.jsonare located.
assets/scss/frameworks/bootstrap/bootstrap-user-variables.scss(here you can edit or add variables)assets/scss/main.scss(here you will customize your style)
main.css.
Components
Mappa Colors
- Background:
bg-*color - Text:
text-*color - Alert:
alert-*color - Button:
btn-*color - Badge:
badge-*color
Primary
Secondary
Info
Light Blue
Warning
Danger
Purple
Black
Cyan
Alerts
- Background:
alert-*color - Text:
text-*color - Shadow:
shadow,shadow-sm,shadow-lg
Avatars
- Round:
rounded-circle - Size:
width="*" - Shadow:
shadow,shadow-sm,shadow-lg


Badges
- Background:
badge-*color - Text:
text-*color - Shadow:
shadow,shadow-sm,shadow-lg
Buttons
- Background:
btn-*color - Text:
text-*color - Size:
btn-sm,btn,btn-lg - Outline:
btn-outline-*color - Round:
btn-round - Width:
btn-block w-100 - Shadow:
shadow,shadow-sm,shadow-lg
Carousel
- Shadow:
shadow,shadow-sm,shadow-lg - Rounded:
rounded
    $('.carousel').on('slide.bs.carousel', function (event) {
      var height = $(event.relatedTarget).height();
      var $innerCarousel = $(event.target).find('.carousel-inner');
      $innerCarousel.animate({
        height: height
      });
    });
Forms
- Rounded:
input-round
Inline Form
Sign Up Form
Contact Form
Icons
Anchor UI Kit comes with latest Font Awesome, the web’s most popular icon set and toolkit. Here are all the available icons.
- Color:
text-*color - Size:
fa-2x,fa-3x
- Color:
text-*color - Size:
iconsmall,iconmedium,iconlarge - Circle:
rounded-circle - Shadow:
shadow,shadow-sm,shadow-lg
- Background:
bg-*color - Size:
iconsmall,iconmedium,iconlarge - Circle:
rounded-circle - Shadow:
shadow,shadow-sm,shadow-lg
Bordered Icons:
Background Icons:
Modals
Pagination
Popovers
- Placement:
data-placement="top/right/bottom/left"
$(function () {
$('[data-toggle="popover"]').popover()
})
$('.popover-dismiss').popover({
  trigger: 'focus'
})
Table
| # | First | Last | Handle |
|---|---|---|---|
| 1 | Mark | Otto | @mdo |
| 2 | Jacob | Thornton | @fat |
| 3 | Larry | the Bird |
Tooltips
- Placement:
data-placement="top/right/bottom/left"
$(function () {
$('[data-toggle="tooltip"]').tooltip()
})
